

1st Mar 2026
If you’re building a modern web application, you’ve probably faced the need to handle different user roles — such as Admin, Agent, and User — each with their own access permissions and dashboards.
laravel 12 makes this process seamless with Laravel Breeze, a lightweight authentication starter kit that can be easily extended for multi-auth setups.
In this tutorial, we’ll create a complete multiple authentication system in laravel 12 using Breeze — step-by-step from installation to dashboard redirection.
By the end of this guide, you’ll be able to log in as Admin, Agent, or User, each having their own dashboard and permissions.
🪜 Step-by-Step: laravel 12 Breeze Multiple Authentication Setup
Step 1: Install laravel 12
If you don’t already have a laravel 12 project, open your terminal and create one using Composer:
composer create-project laravel/laravel example-app
Once installed, navigate to your app directory:
cd example-app
Step 2: Install Laravel Breeze for Authentication
Laravel Breeze provides simple and clean authentication scaffolding for Laravel. Run the following commands to install it:
composer require laravel/breeze --dev
php artisan breeze:install
npm install
npm run build
This will create authentication routes, views, controllers, and registration/login functionality.
✅ Tip: Breeze is perfect for beginners — it uses Tailwind CSS and includes everything you need to quickly set up login and registration.
🗄️ Step 3: Create Migration and Update User Model
Now, we’ll add a role column in the users table to define user types (admin, agent, user).
Run the following command:
php artisan make:migration add_type_to_users_table
Update the newly created migration file:
use Illuminate\Database\Migrations\Migration;
use Illuminate\Database\Schema\Blueprint;
use Illuminate\Support\Facades\Schema;

return new class extends Migration {
    public function up(): void
    {
        Schema::table('users', function (Blueprint $table) {
            $table->enum('role', ['admin', 'agent', 'user'])->default('user');
        });
    }

    public function down(): void
    {
        Schema::table('users', function (Blueprint $table) {
            $table->dropColumn('role');
        });
    }
};
Now, run the migration:
php artisan migrateThen open the User model and add role to the $fillable array.
app/Models/User.php
protected $fillable = [
    'name',
    'email',
    'password',
    'role'
];
Step 4: Create Role Middleware
We need a middleware that restricts pages based on user roles.
Run the command:
php artisan make:middleware Role
Then, edit the file:
app/Http/Middleware/Role.php
namespace App\Http\Middleware;

use Closure;
use Illuminate\Http\Request;
use Symfony\Component\HttpFoundation\Response;

class Role
{
    public function handle(Request $request, Closure $next, $role): Response
    {
        if ($request->user()->role != $role) {
            return redirect('dashboard');
        }

        return $next($request);
    }
}
Now, register this middleware in bootstrap/app.php:
$middleware->alias([
    'role' => \App\Http\Middleware\Role::class,
]);
ip: This middleware will ensure only users with the correct role can access certain routes.
🚦 Step 5: Define Role-Based Routes
We’ll now create separate dashboard routes for Admin, Agent, and User.
routes/web.php
use App\Http\Controllers\AdminController;
use App\Http\Controllers\AgentController;
use App\Http\Controllers\ProfileController;
use Illuminate\Support\Facades\Route;

Route::get('/', function () {
    return view('welcome');
});

Route::get('/dashboard', function () {
    return view('dashboard');
})->middleware(['auth', 'verified'])->name('dashboard');

Route::middleware('auth')->group(function () {
    Route::get('/profile', [ProfileController::class, 'edit'])->name('profile.edit');
    Route::patch('/profile', [ProfileController::class, 'update'])->name('profile.update');
    Route::delete('/profile', [ProfileController::class, 'destroy'])->name('profile.destroy');
});

// Admin Routes
Route::middleware(['auth', 'role:admin'])->group(function(){
    Route::get('/admin/dashboard', [AdminController::class, 'dashboard'])->name('admin.dashboard');
});

// Agent Routes
Route::middleware(['auth', 'role:agent'])->group(function(){
    Route::get('/agent/dashboard', [AgentController::class, 'dashboard'])->name('agent.dashboard');
});

require __DIR__.'/auth.php';
Step 6: Create Controllers for Admin and Agent
We’ll create two new controllers for handling dashboards:
php artisan make:controller AdminController
php artisan make:controller AgentController
AdminController.php
namespace App\Http\Controllers;

use Illuminate\Http\Request;

class AdminController extends Controller
{
    public function dashboard()
    {
        return view('admin.dashboard');
    }
}
AgentController.php
php artisan serve
Now open your browser and visit:
You can log in using the following credentials:
| Role | Password | |
|---|---|---|
| Admin | admin@gmail.com | 123456 |
| Agent | agent@gmail.com | 123456 |
| User | user@gmail.com | 123456 |
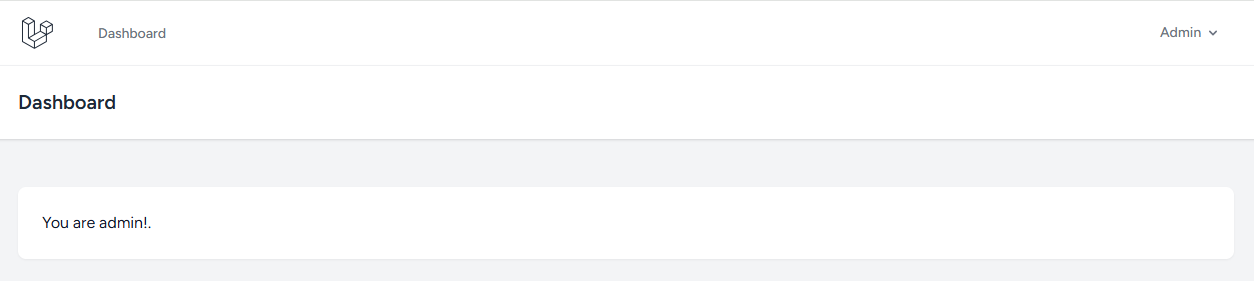
Admin Dashboard
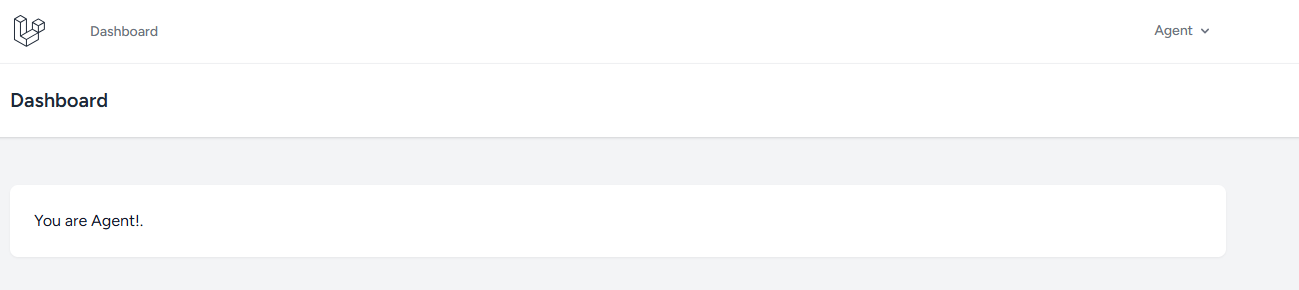
Agent Dashboard
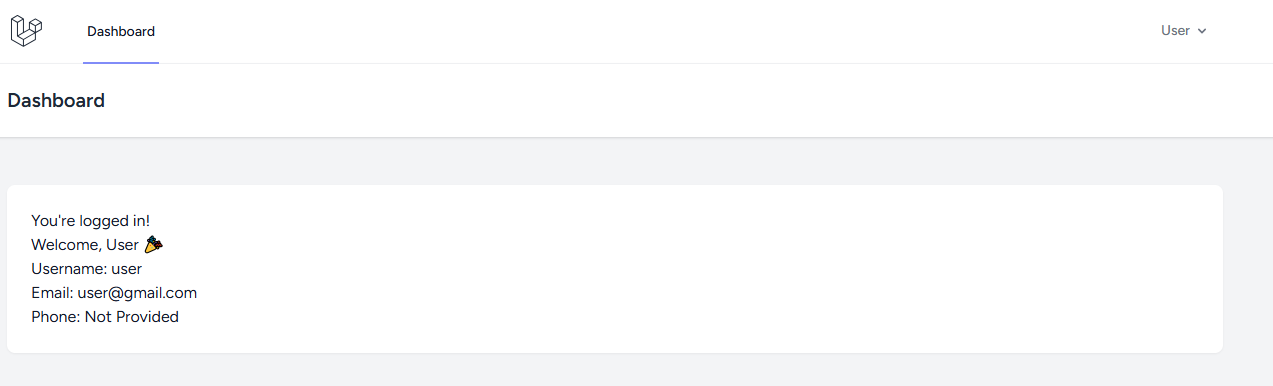
Users Dashboard
Real-World Example: Why Use Multiple Authentication?
In real-world apps like real estate platforms, learning management systems, or multi-vendor marketplaces, you often need different dashboards and permissions.
For instance:
-
Admins manage users and settings.
-
Agents manage listings or clients.
-
Users access personal data or services.
This role-based authentication system helps you scale your app securely and efficiently.
🏁 Conclusion
Congratulations 🎉 — you’ve successfully built a laravel 12 multiple authentication system using Breeze!
You now have:
✅ Role-based login and dashboard
✅ Middleware for access control
✅ Clean Breeze-powered auth scaffolding
Leave A Reply
Your email address will not be published. Required fields are marked